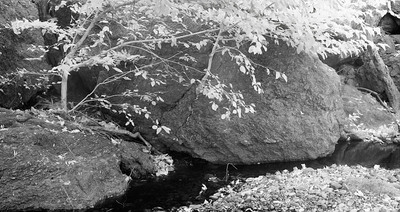
One more from Little Yosemite.
Baylands
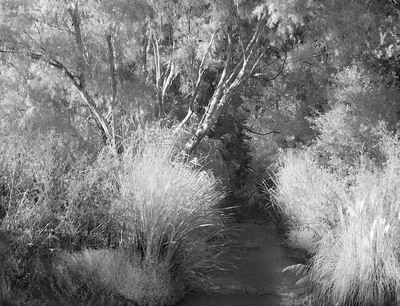
Tonite, Chip and took the girls out for a walk at Baylands. When C visited, Cho-Cho decided that C was great (I think she likes C better than us). Cho-Cho made all sorts of noises we had not heard before while trying to entice C to pet her belly. C looked shocked by the size of her belly. Note: we adopted Cho-Cho last year and she was seriously overweight and the lumpiest dog we have ever owned. Well, Chip and I decided to take her out for more exercise. Tonite, she waddled around Baylands and her a grand time.
Little Yosemite – Part 2
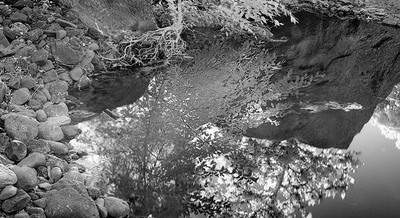
This is another shot from yesterday a taken at Little Yosemite with C. This is Chip’s pick of the shots. Personally, I think it looks upside-down but it does not looked right when flipped. I was suprised to see how clear the reflection is becaue on site, the reflection was not visible. Previously, my infrared shots of water always had the reflections removed like a polarizer.
Little Yosemite
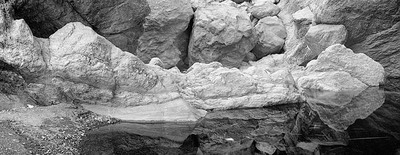
Went with C out to Sunol. It was her first visit. So we visited Eagle Crest for the view and then hiked out to LIttle Yosemite. I was very surprised to see the radical changes from a month ago. The creek was dried down to small pools and everything went very brown. We scrambled over giant boulder to get to this small canyon areas. This one reminds me of the canyon shots from Arizona Highways magazine.
Hakone Gardens – Part 3
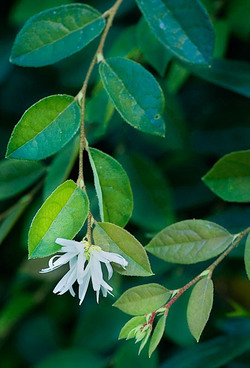 This is another shot from Hakone Gardens. Because there were dark green leaves with a white flower, I used one of my favorite techinques for dodging and burning. On the layers palette, hold the Alt key and click on the new layers button. In the pop-up dialog, select mode of Soft Light (or Overlay for stronger effect). Check the fill with 50% gray checkbox. Now, you have a neutral gray layer that does not affect the image. To burn, select a black brush with 10% (adjust per image) opacity and lightly paint the areas. To dodge, select a white brush and repeat. If the effect is too strong, you can always change the gray layer’s opacity.
Photoshop Lighting Effects
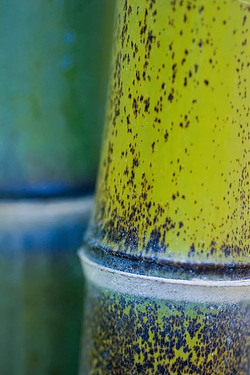
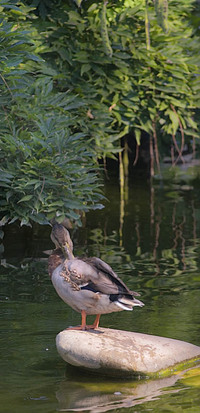 With this image, I used one of the most overlooked filters in Phothshop, Lighting Effects. For this shot, the sun was getting low and lighting of the duck’s rear and rock well. But, the duck’s head and background bamboo were too dark. I ran Lighting Effects three times. Each acted as a very small amount of fill flash on the head and various places in the background bamboo. The key with using Lighting effects is to experiment with the settings. Use Spotlight when you have directional light and the Omni for diffuse lighting. Also, remember to make a duplicate of your flattened image and mask the Lighting Effect. That way, you can paint on the fill light just where you need it.
Hakone Gardens – Part 2
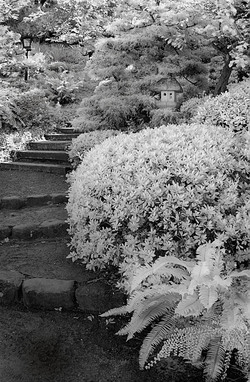 Another shot from this weekend at Hakone Gardens. Dug out the fisheye lens for this oen.
Stargazer Lilies
This morning, I read the papers and learned about the disastrous aftermath of hurricane Katrina. I hope that you and your loved ones are safe. Plus, a wish that the repairs and rebuilding can start soon.
Bouquet
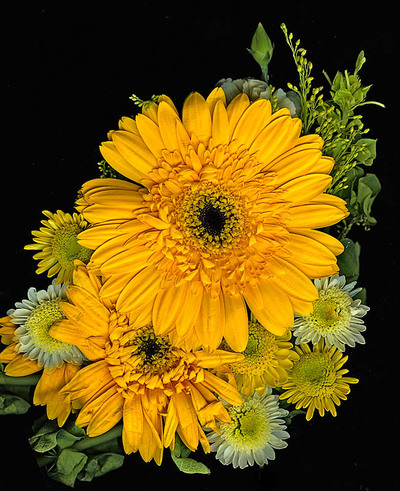
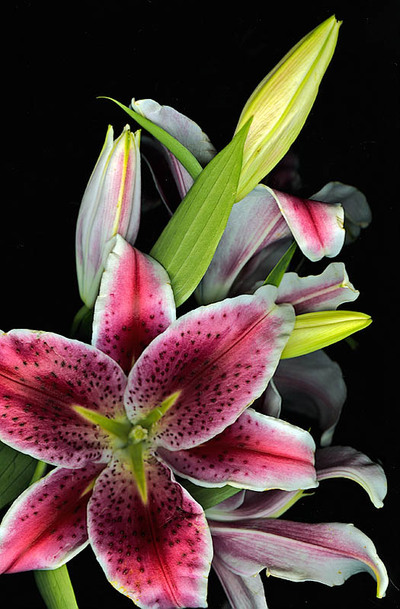
Tonite, I got around to playing with our new scanner. After taking the fine art printing course at SFAI, Michael Creedon showed prints made from scans of flowers. I bought this cheery bouquet and gave it a shot. I think that artistically arranging the flowers is tougher than it looks but fun to try. Chip has had great fun scanning all his old shots.
Canon 5D
 While C and I were at the gardens, we chatted with a few wedding photographers. They were getting setup for a wedding photo shoot as soon as the gardens closed to the public. After comparing a few equipment notes (they were Canon users as well), one of the guys confirmed that the Canon 5D is real. I had heard a rumor about it and seen a photo on DP Review. However, I was a little skeptical because the picture could have been a Photoshopped 20d. Here are the specs…
 DorothyPhoto